Work Triangle or Kitchen Zones? Choosing a Layout That Fits How You Cook
A kitchen remodel succeeds or stalls on the strength of its layout. Cabinets, countertops, and finishes matter, but where you prep, cook, and clean determines how the space works every day. Two planning approaches dominate: the classic work triangle and a zone-based layout. Each can be excellent when matched to how you use the room, its constraints, and the appliances you rely on. This article explains when each approach shines, where it can fail, and how to translate ideas into measurements that prevent door collisions, bottlenecks, and safety issues before you order anything.
1. Identify How You Cook: One-Cook Sprints or Team Effort
The work triangle links the sink, cooktop, and refrigerator with unobstructed paths and practical distances. It favors a single primary cook, short walking routes, and a clear prep surface near the sink. Zone planning divides the room into functional stations: prep, cooking, cleanup, baking, coffee, and pantry, with storage and surfaces assigned to each. Zone layouts suit multi-cook households and open kitchens where traffic flows through. When interviewing kitchen remodelers in Duluth, describe who cooks, which tools you reach for most, and when the room feels crowded. That clarity will guide whether a triangle or zones feel natural.
Consider two examples. A solo weeknight cook in a compact galley may prefer a tight triangle with a 24-inch prep run flanked by the sink and cooktop, knives in the nearest drawer, and a pull-out trash just below. A family that cooks together may prioritize a dedicated baking zone with vertical sheet-pan storage, a mixer garage on a 30-inch-deep counter, and a second prep sink on the island so two people can chop without crossing paths.
2. Map Fixed Constraints Before Drawing Lines
Measure wall lengths, ceiling height, window and door locations, and note anything immovable, including a plumbing stack or a load-bearing wall. Check swing arcs for appliance doors; a full-depth refrigerator opening opposite a dishwasher can choke a passage if the aisle is too narrow. Plan minimum aisle widths of about 42 inches for a one-cook kitchen and about 48 inches for two cooks. If an island is on your wish list, confirm clearances on all sides and consider rounded corners near tight passages to reduce hip-bumping and cabinet wear.
Utilities also steer layout. Sinks like to live near the main drain to avoid long, awkward runs and to keep the P-trap within standard reach. GFCI protection is required near water sources, and dedicated electrical circuits help dishwashers, microwaves, and induction cooktops perform reliably. If you are moving a range, plan a direct vent route for the hood through a properly sized duct rather than relying on a recirculating fan. Short, straight vent runs improve capture and reduce noise, especially with baffle filters that handle grease better than basic mesh screens.
3. Triangle Distances and When Breaking the Rules Makes Sense
In a triangle-driven plan, keep each leg long enough to prevent crowding but not so long that you are logging laps. Very short legs create cramped zones where multiple tasks collide, while overly long legs waste steps between the sink and cooktop. Islands can improve or ruin triangles. Placing a sink in a small island can carve a beautiful path for one cook, but it may waste valuable prep space and create back-to-back collisions if the opposite run holds the cooktop. Corner sinks sometimes force diagonal traffic across prep space; if you choose one, maintain an uninterrupted landing area on at least one side for knives and cutting boards.
Triangle or zone, landing areas prevent balancing acts with hot pans. Aim for a clear 24 inches on at least one side of the cooktop and at least one side of the sink. Give the refrigerator 15 inches of landing to set groceries down. Place the pull-out trash and compost bin directly under or beside the primary prep zone, not across an aisle. Drawer stacks with full-extension slides keep prep tools within arm’s reach; add a shallow knife drawer with dividers near the main board to avoid trekking with sharp blades.
4. Zoning Your Kitchen for Flow and Storage
Zones package tasks with their tools. A prep zone pairs a generous counter with knives, cutting boards, mixing bowls, and a pull-out for produce waste. The cooking zone centers on the range or cooktop and keeps pots, pans, spices, and sheet pans nearby, with a heat-resistant, easily cleaned backsplash. The cleanup zone groups the sink, dishwasher, trash, and detergent storage, plus a towel drawer. Specialty zones might include a coffee bar with a dedicated outlet, mugs, and beans, or a baking station with a lower counter height for rolling dough, plus canisters for flour and sugar and a lift for a stand mixer.
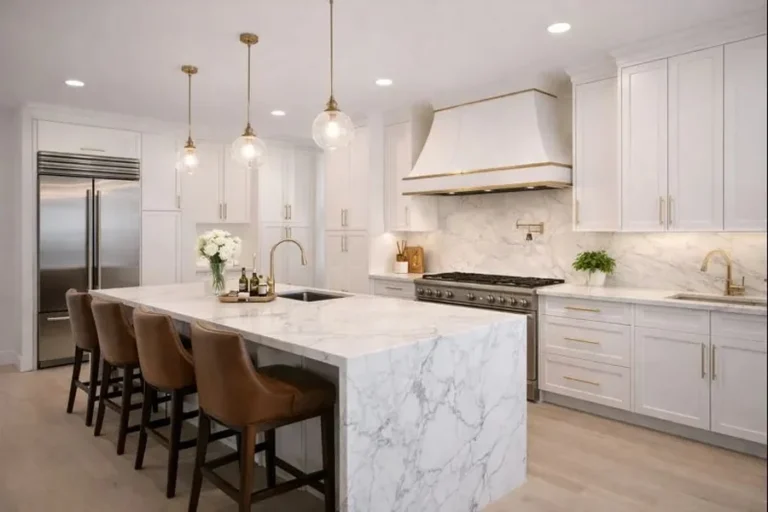
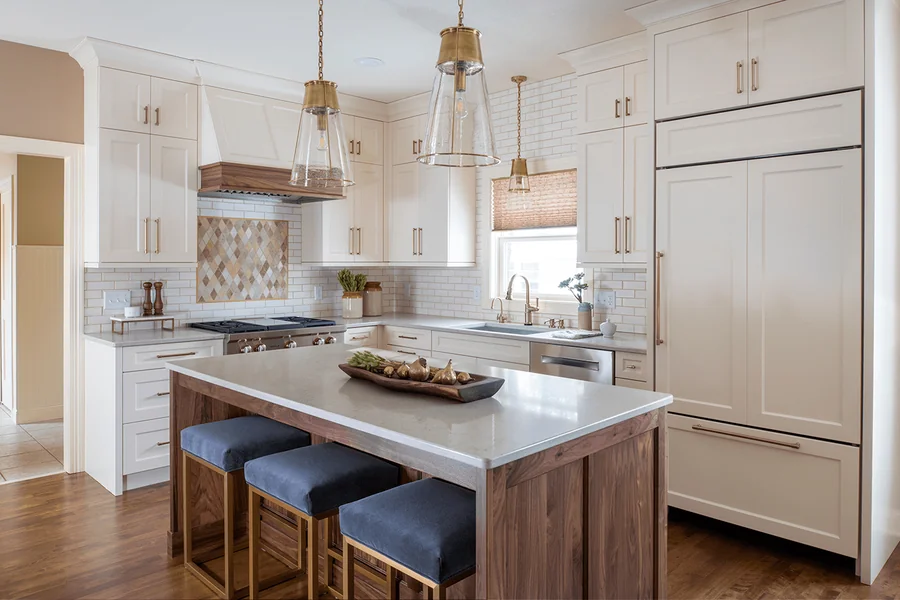
Here are two realistic layouts. In a narrow galley, make one long run the prep-and-cleanup side with the sink, dishwasher, and a 36-inch uninterrupted counter, keeping the cooktop on the opposite wall with shallow spice pull-outs. The refrigerator anchors the far end near a tall pantry cabinet so incoming groceries never cross the hot zone. In an open-plan kitchen, place a prep sink on the island with the main sink on the perimeter. That gives two people separate access to water. Store everyday plates in a wide drawer by the dishwasher to shorten unload time, and keep kid snacks at the end of the island to divert traffic away from the hot zone during busy mornings.
5. Ventilation, Lighting, and Materials That Support the Plan
Ventilation protects both layout choices. Choose a hood with enough capture for your cooking style, and run the smooth-walled duct as short and straight as possible to the exterior, using the largest diameter your hood allows, commonly 6 to 8 inches. High-output hoods can depressurize a tight house; in cold climates, a make-up air solution keeps drafts and smoke from spilling into living areas. Position controls and cleanable baffle filters where you can reach them without leaning over burners. If your plan includes a microwave-hood, check that it allows an adequate vent path and cabinet clearances above.
Lighting and finishes should reinforce function, not fight it. Layer ambient lighting with task lighting under cabinets to avoid shadows on the cutting board. LED strips around 3000K with a high color rendering index make it easier to judge produce and doneness. Around sinks and dish zones, quartz counters resist staining and standing water better than untreated butcher block, while butcher block can work in a baking zone where warmth and easy resurfacing help. For floors, porcelain tile resists water and grit, and luxury vinyl plank softens standing fatigue and dampens sound. If you choose tile, an epoxy grout keeps cleanup easier near the range. Toe-kick drawers, tray dividers, and corner solutions like a blind-corner pull-out preserve storage in tight footprints.
Before you commit, tape the plan on the floor, open appliance boxes to mock door swings, and rehearse a full dinner from grocery drop-off to cleanup. That dry run exposes collisions and missing landing zones early. Confirm electrical panel capacity for added circuits, finalize a vent path, and schedule work so you can set up a temporary kitchen with an induction hot plate and a utility sink. A layout that truly matches how you cook, supported by the right ventilation, lighting, and materials, will feel intuitive the first week and resilient years later.