The First 24 Hours After Indoor Flooding: Decisions That Prevent Hidden Damage
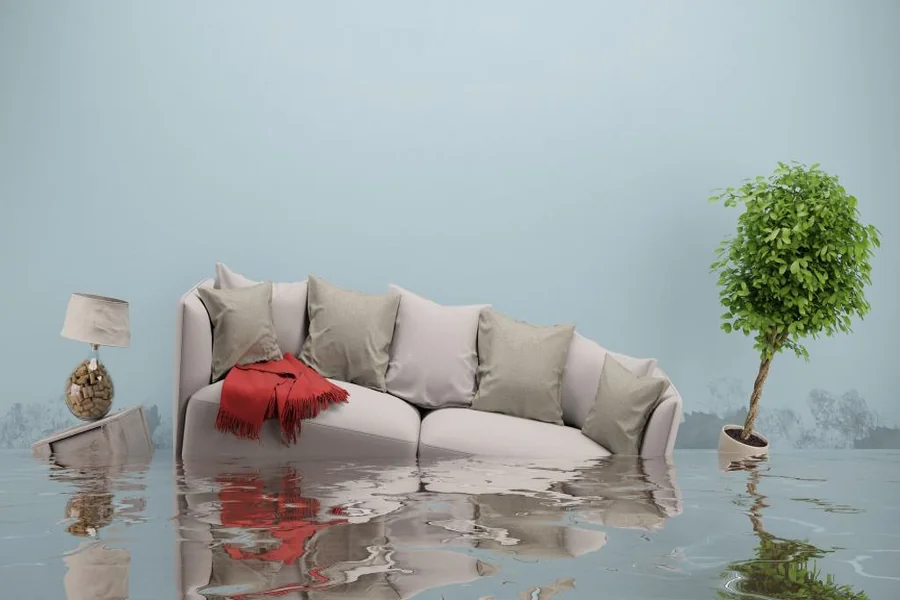
When water gets loose inside a home, the most expensive damage often happens after the leak stops. Within hours, moisture wicks up drywall, swells particleboard cabinets, and seeps under baseplates and subfloors. Humidity spikes feed mold on paper-faced gypsum and carpet pad, and hidden pockets behind baseboards and toe-kicks stay wet long after floors look dry. The first day shapes everything that follows: how much material must be removed, whether flooring can be saved, and how far repairs will spread. This article lays out practical, first-24-hour steps that reduce secondary damage, explain what can be dried versus what must go, and clarify when home methods give way to professional mitigation.
1. Shut Off Water and Make the Area Electrically Safe
Stop the source at the nearest shutoff valve (under a sink, by the water heater) or use the main at the meter if the leak will not stop. Keep people out of pooled water and switch off affected circuits at the breaker panel; avoid ceiling fixtures under wet drywall and treat GFCI outlets in the splash zone as compromised until checked. If supply lines will not close or contamination is suspected, Portland-area residents can call for water damage repair in Portland before DIY cleanup choices make demolition or mold remediation more extensive.
Protect what you can in minutes: Lift furniture onto blocks or foil-wrapped plates so legs don’t wick water, pull area rugs off hardwood to prevent tannin stains, and collect loose papers or fabrics that will bleed dye. Do not push water through floor registers into ductwork or poke sagging ceilings, which can release saturated insulation and contaminated dust. Keep kids and pets out of the work zone.
2. Triage Building Materials: Dry, Remove, or Replace
Two variables drive triage: the water source and the material’s porosity. Clean supply-line water can often be extracted and dried from carpet, hardwood, and drywall if caught quickly, while dishwasher or washing machine discharges carry detergents and food soil that push you toward more removal. Any sewage-contaminated (Category 3) water forces porous materials like carpet pad, MDF baseboards, swollen particleboard cabinets, and lower sections of drywall to be discarded because contamination penetrates beyond the surface.
Decisions vary by surface. Carpet is frequently “salvageable but invasive”: the pad is usually removed while the carpet is disinfected, extracted, and “floated” with air movers. Luxury vinyl plank may hide trapped moisture over a plastic underlayment, directing water sideways under walls; planks often need to be lifted to dry the subfloor. Hardwood can be dried with controlled dehumidification and directional airflow, but cupping becomes likely if water sits. Tile is resilient, yet wet gypsum under cement board or saturated grout lines still need aggressive drying. For drywall, remove baseboards and drill small weep holes behind them to relieve trapped moisture; reserve larger “flood cuts” for heavy wicking or contamination.
3. Control Humidity and Airflow Without Spreading Moisture
Extraction comes first because every gallon you remove is a gallon you don’t need to evaporate. After that, pair airflow with dehumidification. Fans alone can push vapor into wall cavities and upper floors, raising indoor relative humidity and feeding mold on paper-faced drywall and insulation. A portable dehumidifier, set to continuously drain into a sink or tub, lowers the air’s moisture content so evaporation from materials continues efficiently.
Choose a closed- or open-drying approach based on actual conditions. A simple hygrometer lets you compare indoor and outdoor humidity; if the outside air is cooler and significantly drier, controlled ventilation can help. If outside is damp, keep windows closed and rely on dehumidification to avoid re-wetting surfaces. Angle air movers across wet surfaces at about 45 degrees to maintain boundary-layer disruption without blowing directly into wall cavities. Running central HVAC on “fan auto” (not constant on) with a clean filter can support moisture removal, but avoid blasting heat; high temperature without dehumidification drives vapor deeper into assemblies.
4. Find Moisture You Cannot See: Cavities, Edges, and Layers
Edges and voids hold water long after the surface looks fine. Pull the toe-kick on base cabinets and check for dampness; capillary action often lifts water behind the kick where mold can start. Pop off a few baseboards to see whether the bottom of the drywall or the sill plate is wet. Lift a carpet corner to inspect the pad and tack strip; rust on the strip or delamination of the pad signals deeper saturation.
If you have access to a pin-style moisture meter, probe the bottom 2 inches of drywall every few feet and compare to unaffected areas; wet readings may lag behind what your hand feels at the surface. A thermal camera can highlight cool evaporating zones, but verify with a moisture meter because cold HVAC air can mimic a wet signature. In upstairs leaks, expect water to travel along joists and show up in light cans or at wall-to-ceiling joints in rooms below; do not energize those fixtures until they are opened and inspected.
5. Two Realistic Scenarios and How the First Day Changes the Outcome
Overnight dishwasher leak on LVP: You wake to standing water in the kitchen with vinyl plank over a foam underlayment. Quick extraction and plank removal at doorways create “release points” so air movers and a dehumidifier can dry the subfloor. If instead only fans are used with windows open on a humid morning, vapor condenses under the planks and wicks into baseboards, leading to swollen trim and a larger drywall repair.
Toilet overflow on the second floor: Even if water looks clear, the source is sanitary drain water, which is considered contaminated. Removing the wet carpet pad and the bottom portion of the affected drywall below, bagging materials, and setting up containment with a HEPA air scrubber during cutting helps keep spores and aerosols down. Waiting a day to decide or trying bleach on soaked drywall spreads contamination into the ceiling below and doubles the tear-out footprint.
6. Documentation, Insurance, and When to Escalate
Photograph everything before moving it, then as you lift finishes, and again once materials are removed. Keep receipts for fans, dehumidifiers, and supplies, and save a short video showing meter readings if you have one. Contact your insurer early to clarify coverage for Category 2 or 3 water, drywall removal, and drying equipment. Insurers generally want to see that you acted quickly to reduce further damage and contamination.
Escalate beyond DIY when structural cavities are wet, multiple rooms or levels are involved, ceilings are sagging, insulation is soaked, or any contamination is present. Professional mitigation teams use commercial dehumidifiers and air movers sized to the building volume, measure drying goals with moisture meters and hygrometers, and set up containment and negative air when cutting into suspect areas. A common mistake is choosing minimal demolition to “save finishes” when water has already reached behind vapor barriers; targeted removal early is faster and cheaper than chasing odor and microbial growth later. With clear decisions in the first 24 hours, you protect framing, reduce tear-out, and shorten the rebuild phase.
Water inside a home does not have to spiral into a months-long rebuild. Shut off the source safely, triage materials by contamination and porosity, pair airflow with real dehumidification, and verify where moisture is hiding before you close things up. If conditions point beyond home methods, bring in mitigation help early so drying starts while materials are still salvageable. The first day sets the scope; deliberate actions keep repairs contained and predictable.